
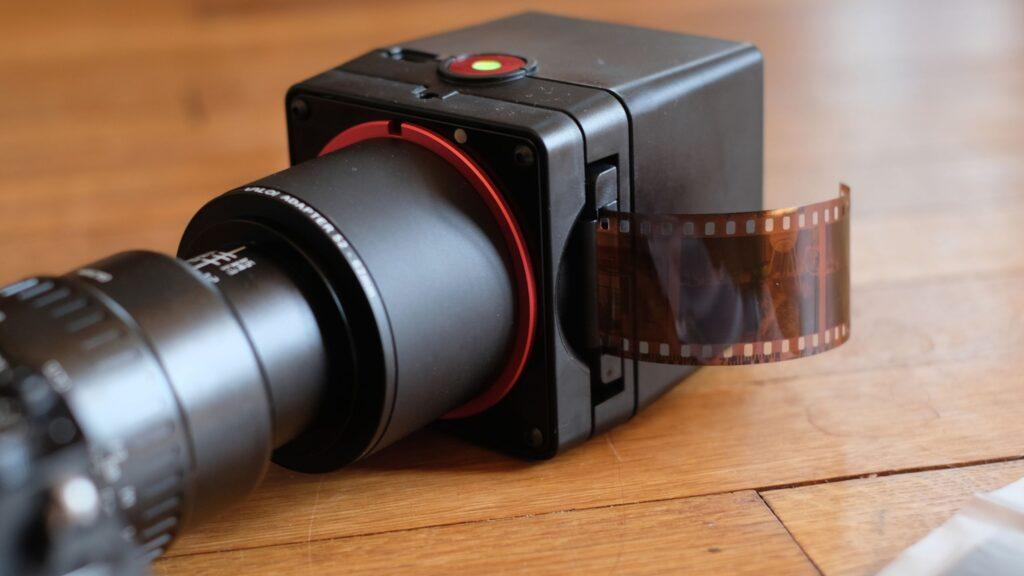
- The Valoi easy35 V2 is a home film scanner for digitizing 35mm film negatives
- Requires a digital camera, a 1:1 macro lens, and negative conversion software.
- It is a compact and portable unit with a built-in light source.
Filmmaking is an expensive business and I’m always looking for ways to make it cheaper. As such, the Valoi easy35 v2 immediately caught my eye, with its promises of making the process of scanning film negatives at home, well, easy. Okay, I’m interested.
Paying to scan and digitize negatives is an ongoing cost that adds up over time, and since I live in a fairly small apartment in a city, a large flatbed film scanner is not a practical option for me. The Valoi easy35 V2, however, is a compact cube that takes up about the same desk space as a large coffee mug. Even with its wealth of accessories, it’s easy to store, easy to transport and, at $272 / £199 / AU$337, it’s also cheaper than high-end scanners. Color me even more intrigued.
But before you get too excited, keep in mind that this is not a standalone film scanner. There are portable, stand-alone film scanners, such as Kodak’s ultra-cheap Slide N Scan, but their quality is quite poor. Instead, the Valoi Easy 35 V2 works by connecting to its high-resolution camera and 1:1 macro lens. You have a high resolution camera and a 1:1 macro lens, right?

In fact, this is not necessarily the super simple, anyone-can-do film scanner, as perhaps the word “easy” in the name implies. But if you have the kit and scan a lot of film, you could save money in the long run, and as I discovered when I tried it, the process can become quite addictive.
Valoi easy35 V2: In use
The Valoi easy35 V2 comes as a kit: in addition to the cube-shaped scanning module itself, with its built-in light source, you also get a pair of extension tubes to ensure your lens can work at the correct focal length and some step-up adapters that allow you to connect lenses of various filter thread sizes to the 62mm thread tubes. While the unit itself is smooth plastic, these accessories are all metal and feel premium as a result.
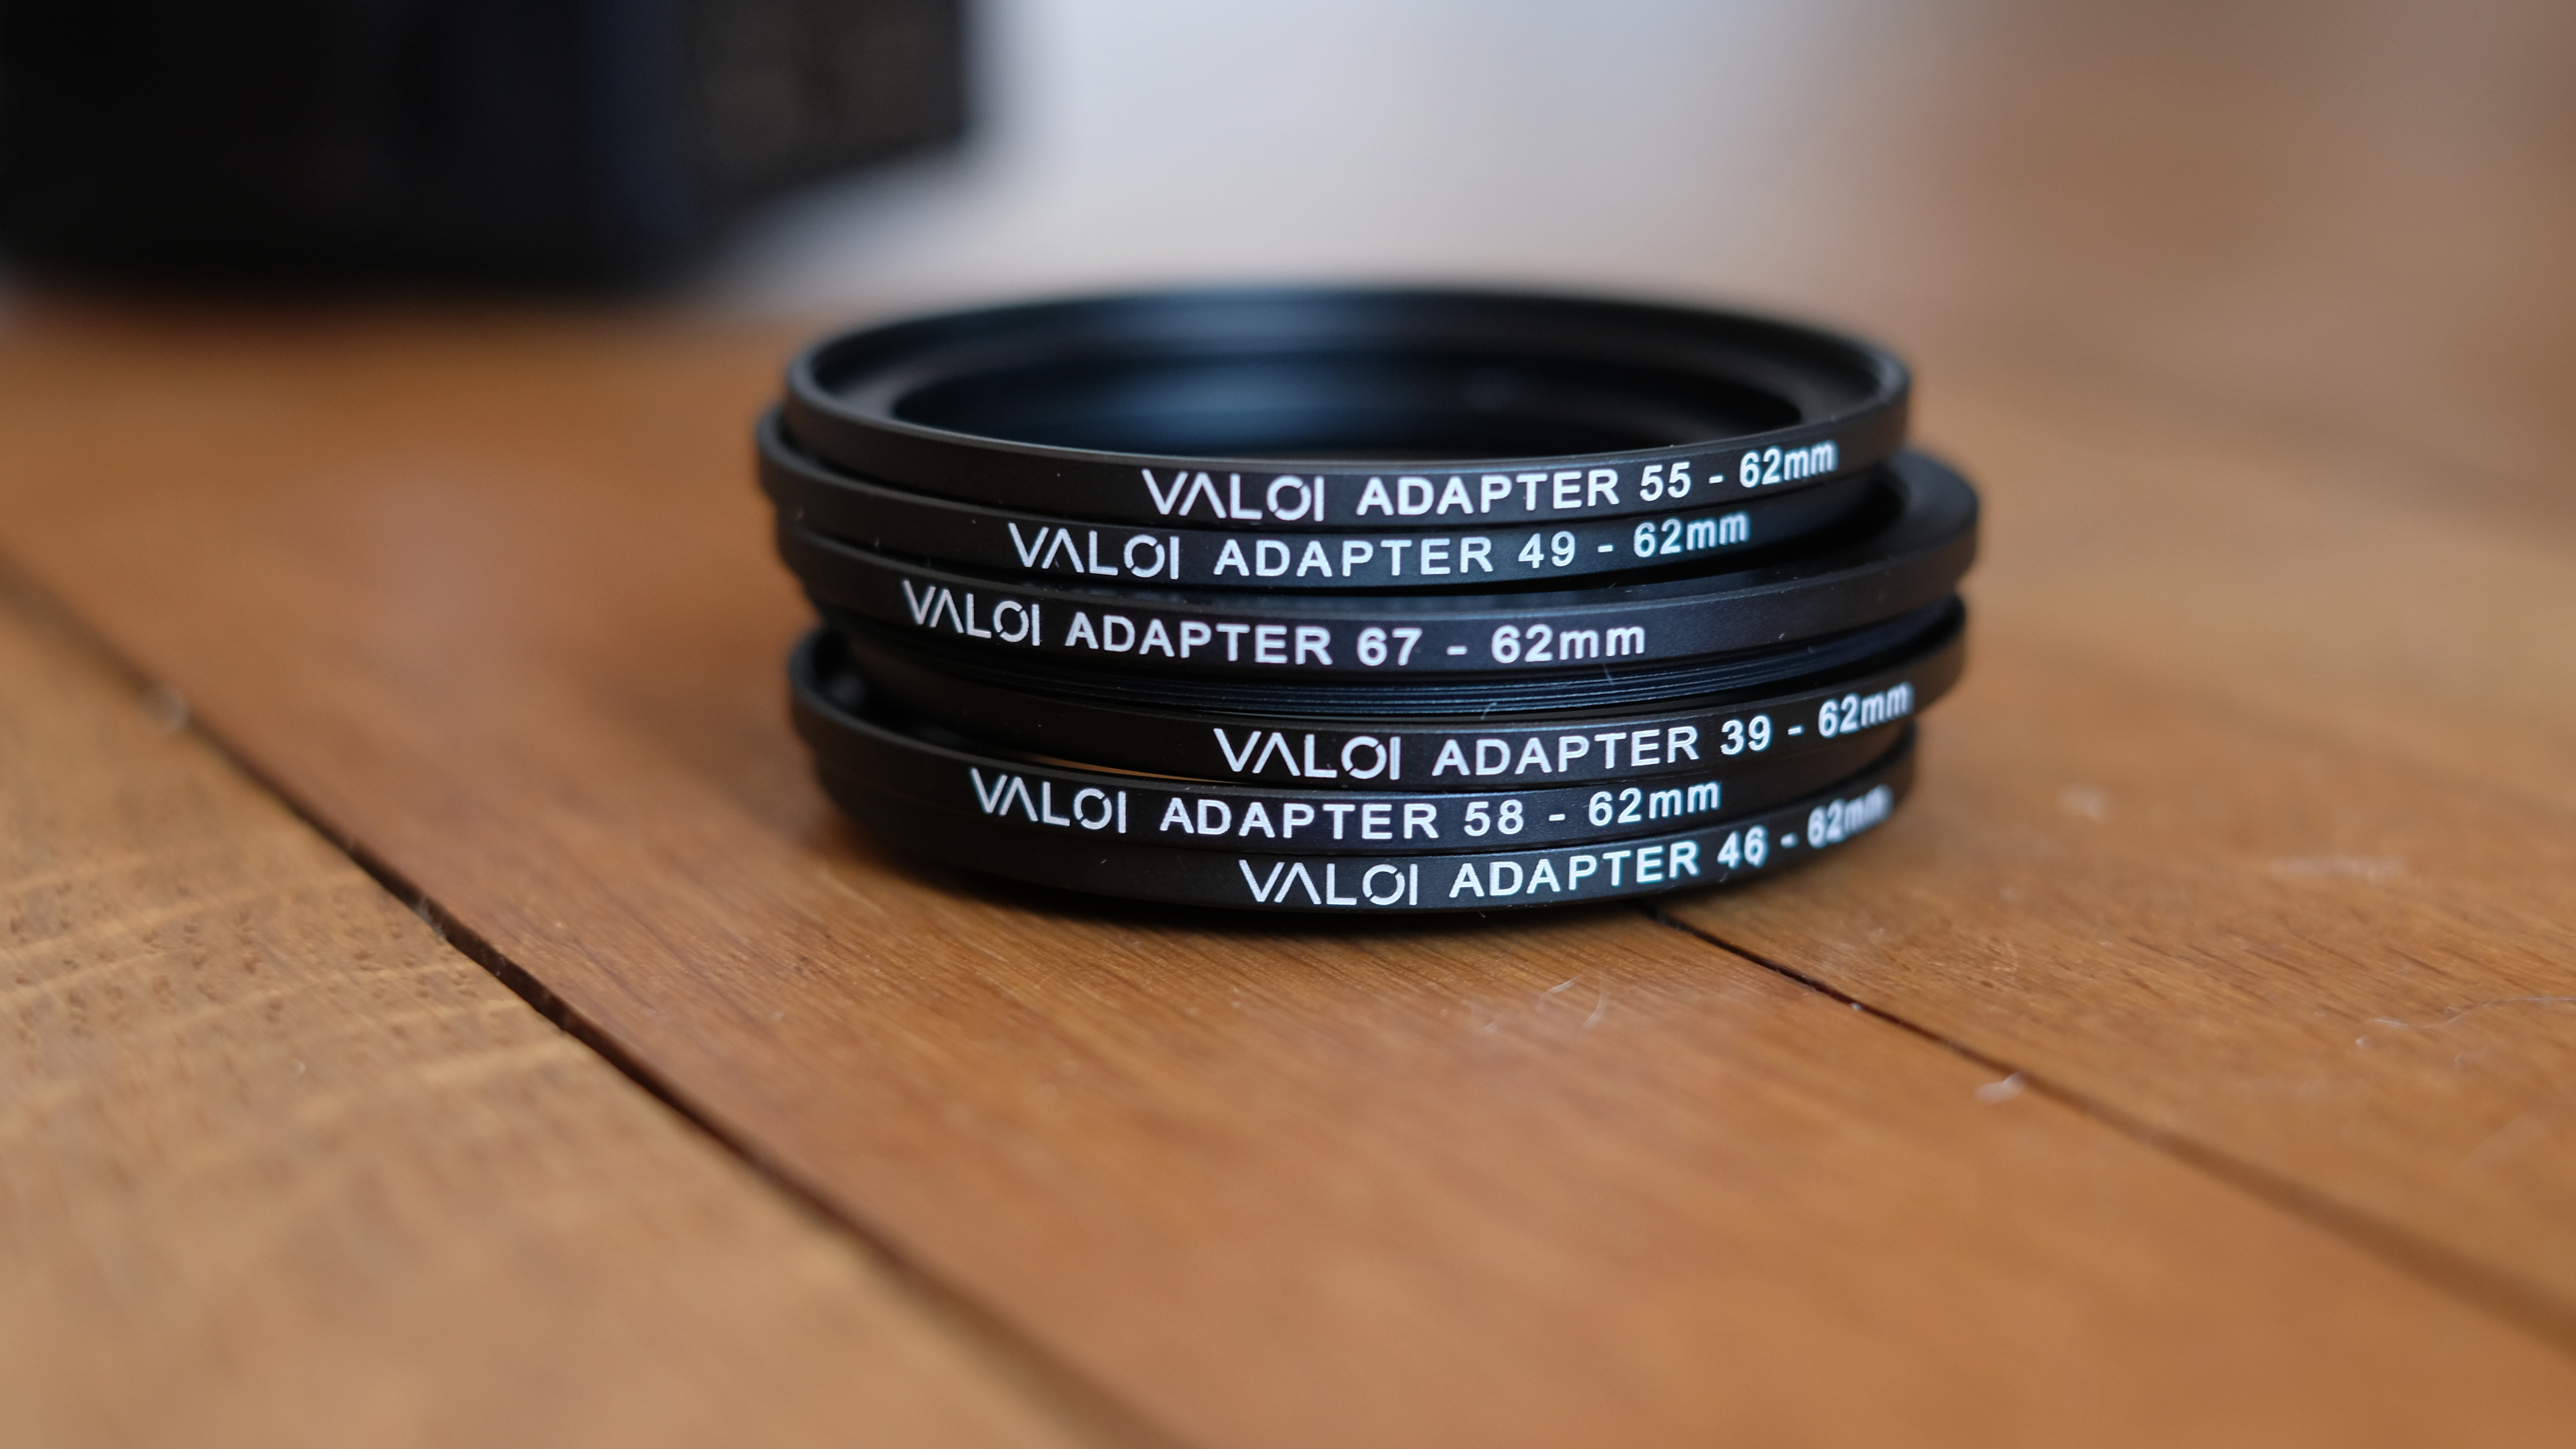
In terms of compatible lenses, the distance between the negative and the front of the lens should be less than 230mm. Valoi recommends that if you use a full-frame system, it is best to use a lens with a focal range between 55mm and 105mm; for APS-C, it is 40mm to 70mm; and for Micro Four Thirds, manufacturers recommend between 35mm and 60mm.
I was using a Fujifilm X-T5, as with its generous 40.2MP resolution, it would easily offer enough pixels to make the scanning process worthwhile. I paired it with the TTArtisan 40mm F2.8, an affordable manual focus macro lens that is Valoi’s budget recommendation for use with the scanner.
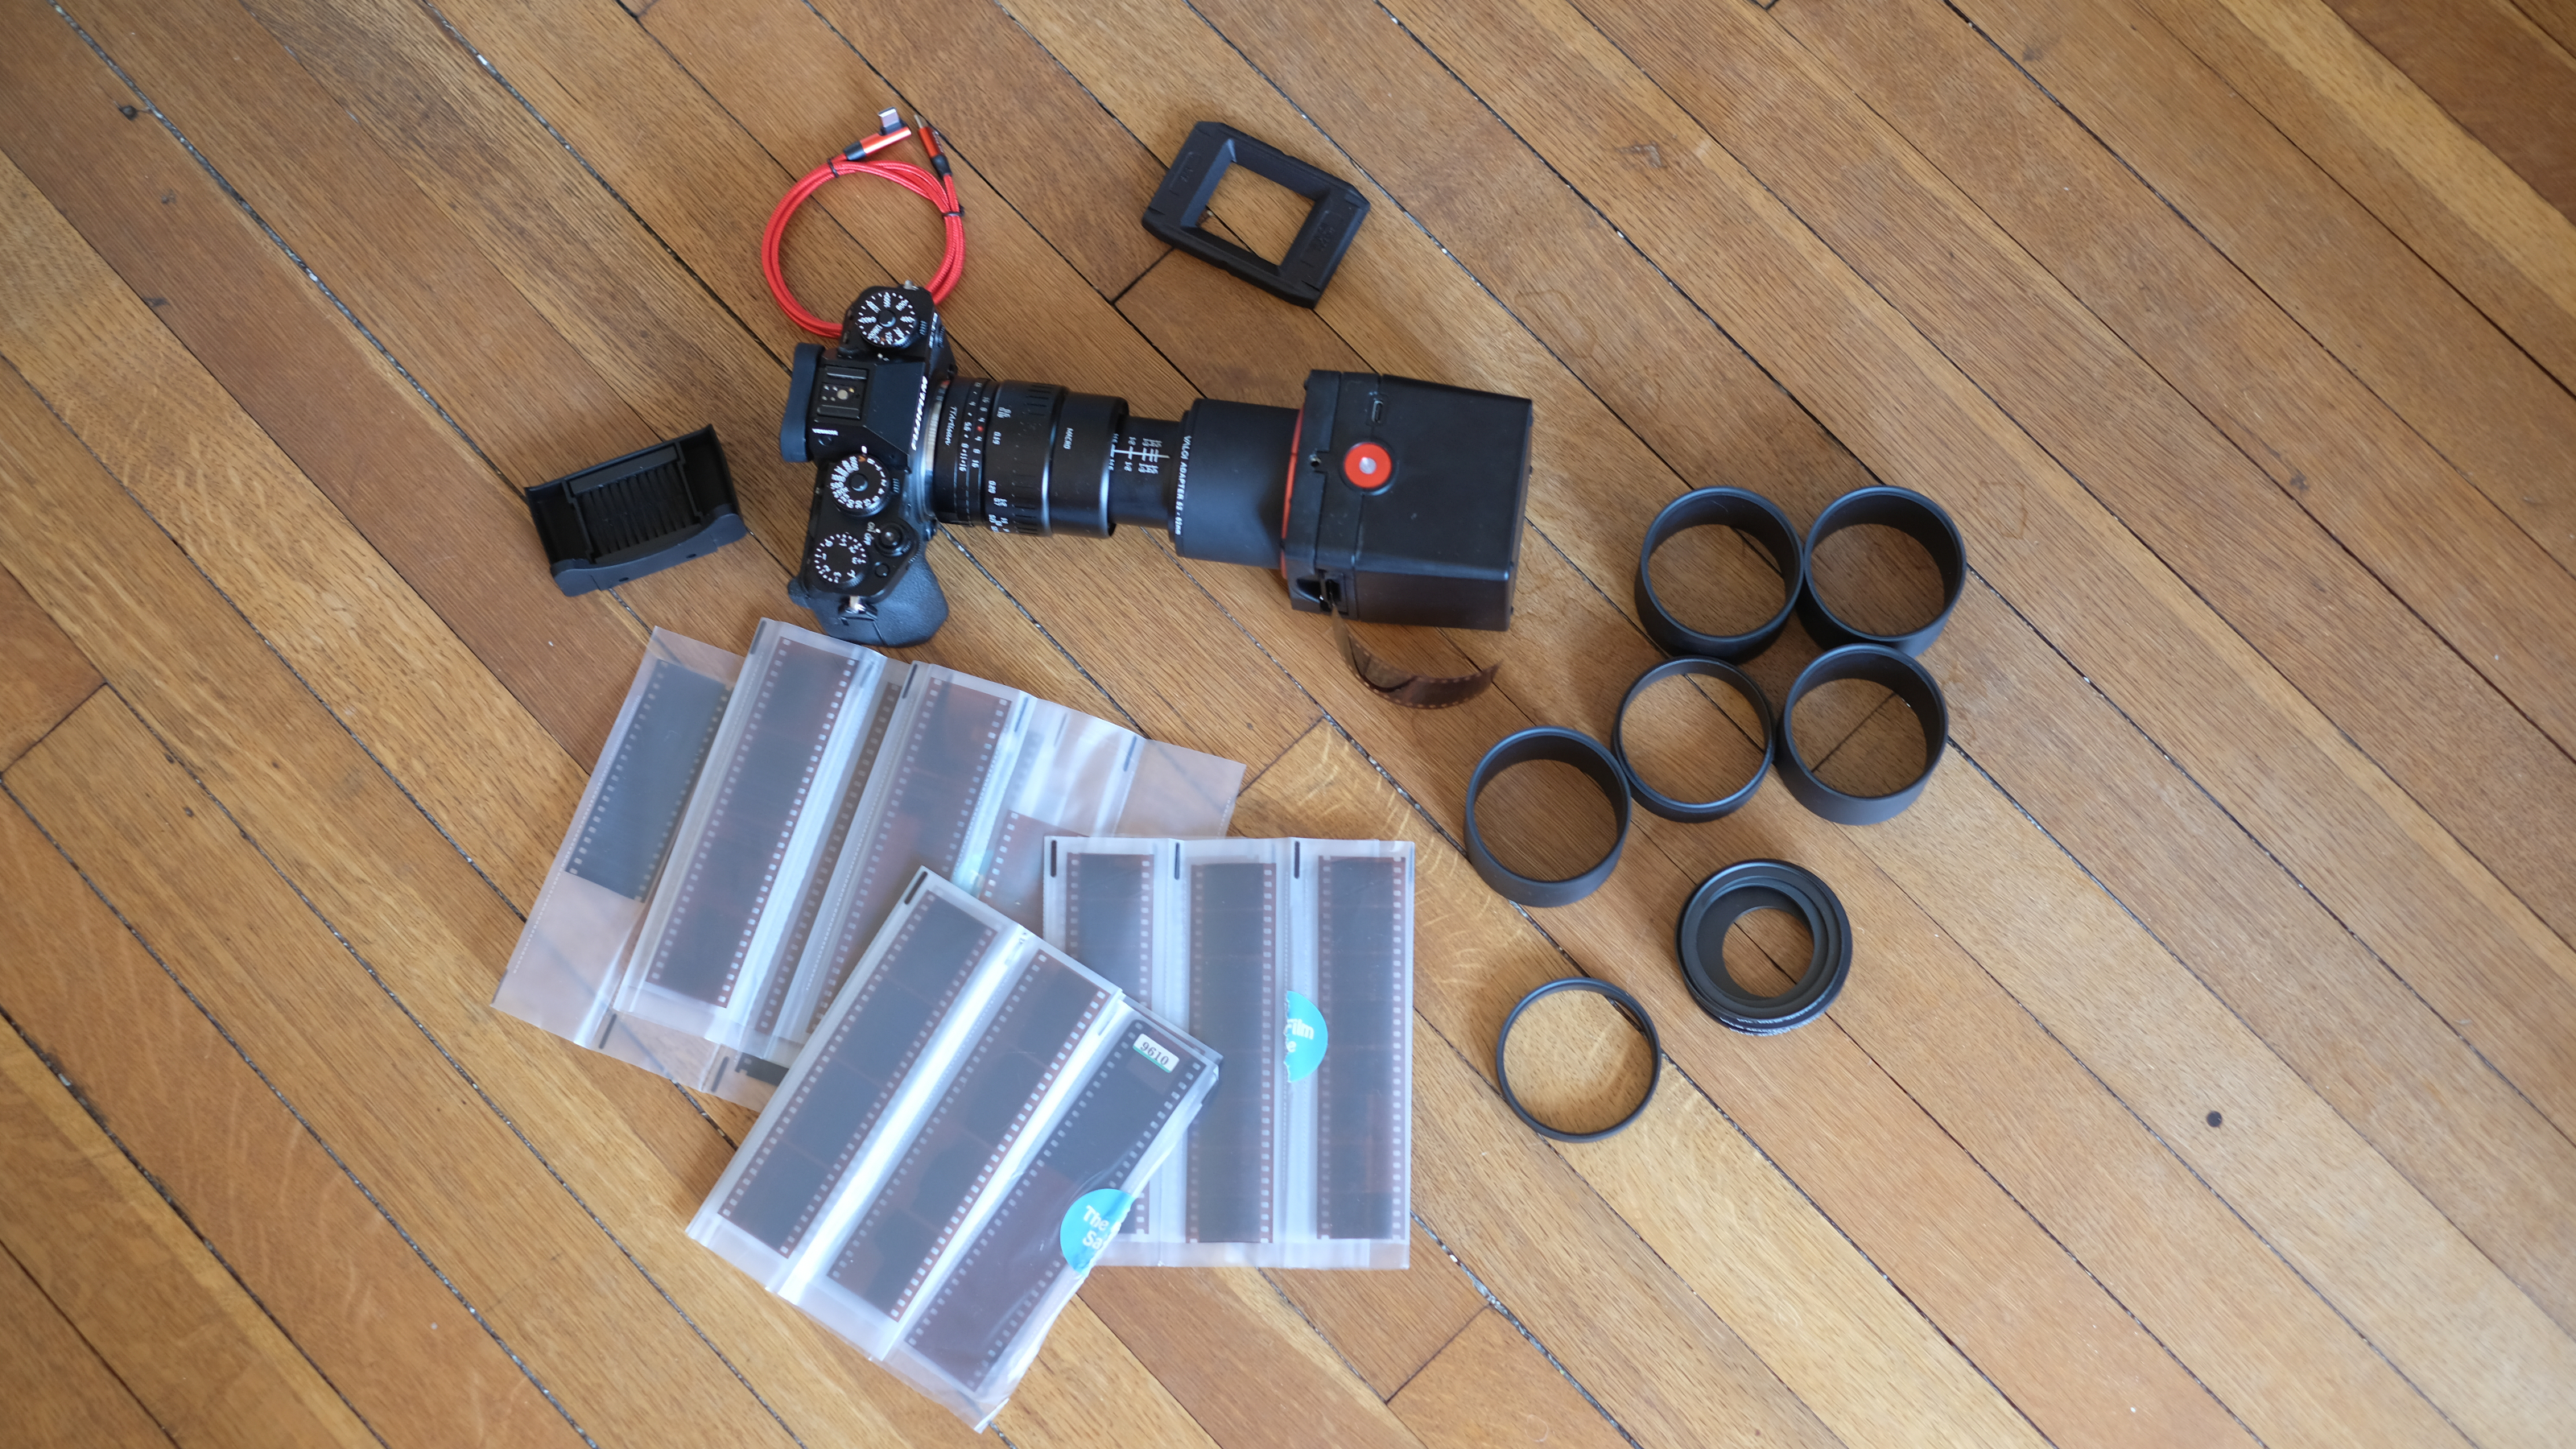
Assembling the parts is pretty simple – I just needed to use an adapter and an extension tube – but depending on your lens, you may have to stack several. The unit itself has one-button operation; You simply turn it on to activate the light (it runs on battery and recharges via USB-C). The negatives are carefully loaded into the holder on one side, passed through the scanner to be captured by the camera, before coming out the other side. You’ll need to make sure the negative is properly focused; It helps to use a nice clear shot with a well-captured subject, ideally a person. And then, you’re away.

That’s when I started to get addicted. Look, I have a lot of negatives. As, a lota lot. And once the Easy 35 V2 is in position and the lens and camera are set up correctly, the scanning process is incredibly fast: advance, adjust, advance, adjust. It can scan entire rolls in minutes. I will say that on my first few attempts, a lot of my scans came out a little crooked and I couldn’t figure out what I was doing wrong, but luckily I had enough latitude to crop and straighten without affecting the image too much.
Of course, once you have those negatives digitized, you’ll still need to convert them. You have several options; I’m not happy to say this, as I’m an Adobe reviewer, but by far the best and fastest is to combine Lightroom Classic with the Negative Lab Pro plugin, the latter of which offers a free 24-conversion trial and then costs a one-time price of $99. There are other options, but they tend to be either overly complicated (Darktable) or too rudimentary (Lomography’s free online tool).
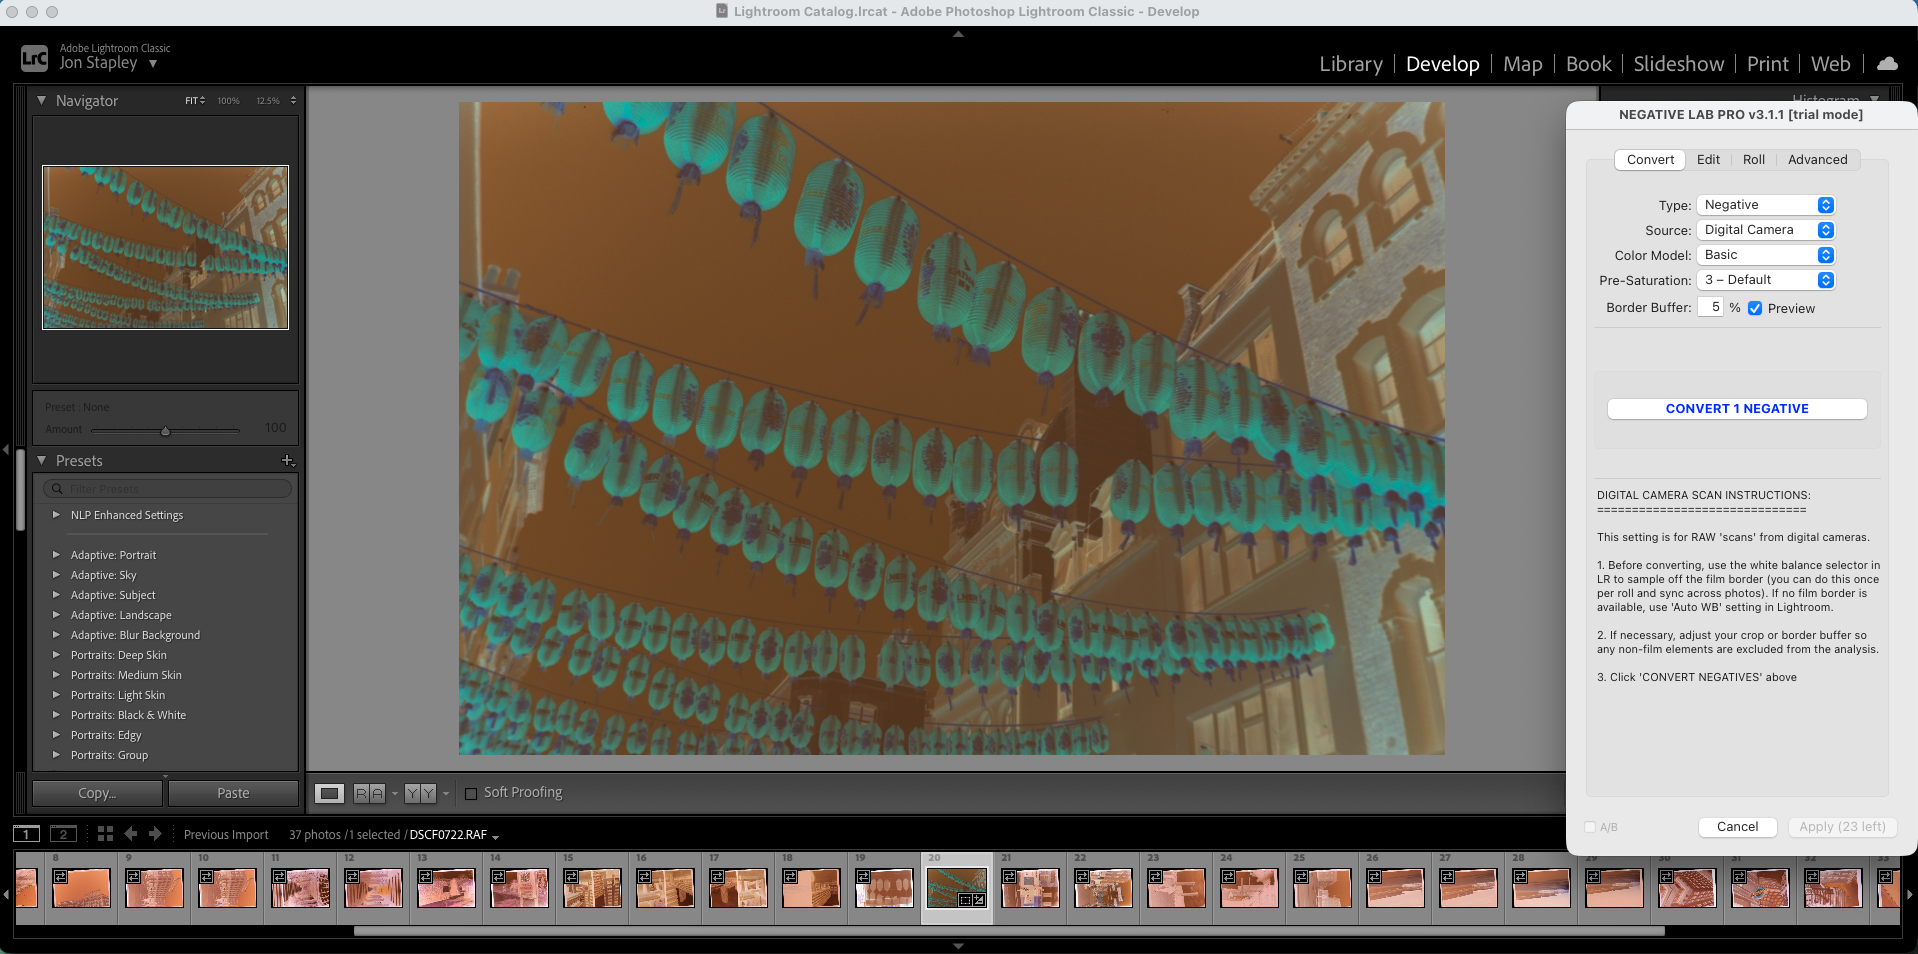
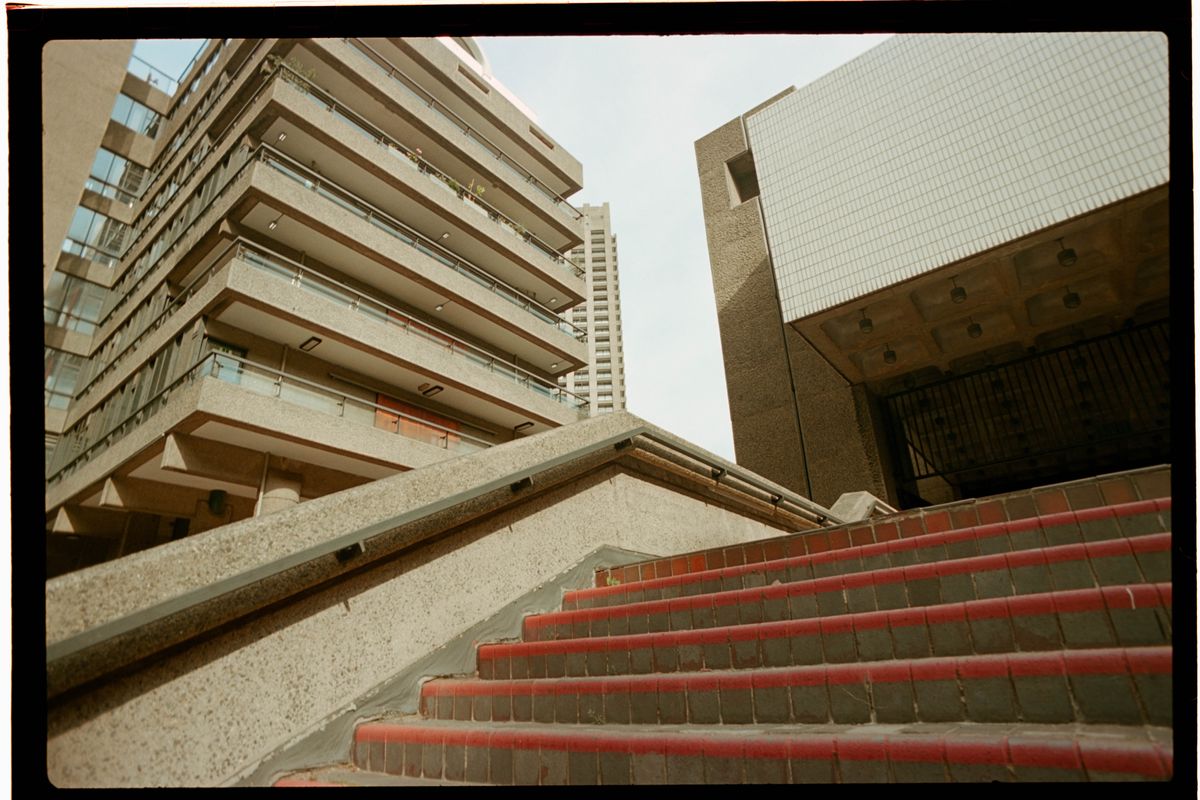
Negative Lab Pro takes the RAW files of your digitized negatives (oh yes, you really should shoot in RAW) and automates the conversion process with a single click. Once done, it provides an editing panel, and you don’t have to be afraid to get stuck in and make the final image look the way you want, editing attributes like color temperature and tint to taste. If you don’t have the time or patience to adjust the sliders, NLP offers some presets for a quick refresh. I found that the ‘Kodak’ profile generally gave nice results with the Kodak negatives, naturally. You can see some of my resulting scans below.
Image 1 of 12










Valoi easy35 V2: Is it worth it?
I love this. I really love it. Setting it up was a pain – I had to get some pretty specific equipment and place it all on the floor for lack of a better work surface. It all looks a bit rustic and inelegant – to me, the camera and case were not level when connected. I ended up putting the spare film holder underneath to balance it, and then I was amused when I saw a video on Valoi’s YouTube channel and they recommended doing exactly that.
However, the scanning process itself was incredibly smooth, easy, and even fun. I could have fed my negatives through this thing for hours. I could still do it! And having this standby setup at home would mean you would never have to pay to have negatives scanned again, which is a very tempting idea.
I don’t think it’s true to say that the Valoi Easy35 V2 makes scanning accessible to the masses. Not everyone has sharp macro lenses with the right filter thread size (you should have heard the noise I made when I realized the Fujifilm XF 30mm f2.8 R LM WR Macro wasn’t going to fit, even with all those step-up adapters). But for those who have the ability, it makes scanning negatives at home lighthearted and fun, and in that sense I’ll be stepping away from my keyboard to be able to scan a bit more.
With thanks to Wex photo video (United Kingdom) and fujifilm who lent some of the equipment used for this article.

Follow TechRadar on Google News and add us as a preferred source to receive news, reviews and opinions from our experts in your feeds.